gitbook的使用
1. 安装gitbook
2. 目录结构
gitbook项目的目录结构如下:
- SUMMARY.md
- README.md
- book.json
- _book/
- node_modules/
其中,我们需要首先创建的是SUMMARY.md(书籍目录) 和 README.md(书籍介绍)
3. SUMMARY.md
书籍目录是gitbook的基础,可以有层级结构,使用markdown写法
# Summary

* [git相关](git.md)
    * [I. 为不同的git项目配置各自独立的用户](./git/user.md)
    * [II. gitbook的使用](./git/gitbook.md)
    ...
4. 编译和预览书籍
书籍目录和目录中链接的内容(*.md)文件编辑完成后,执行gitbook serve即可完成书籍的编译
$ gitbook serve

Live reload server started on port: 35729
Press CTRL+C to quit ...

info: 7 plugins are installed
info: loading plugin "livereload"... OK
info: loading plugin "highlight"... OK
info: loading plugin "search"... OK
info: loading plugin "lunr"... OK
info: loading plugin "sharing"... OK
info: loading plugin "fontsettings"... OK
info: loading plugin "theme-default"... OK
info: found 4 pages
info: found 1 asset files
info: >> generation finished with success in 0.7s !

Starting server ...
Serving book on http://localhost:4000
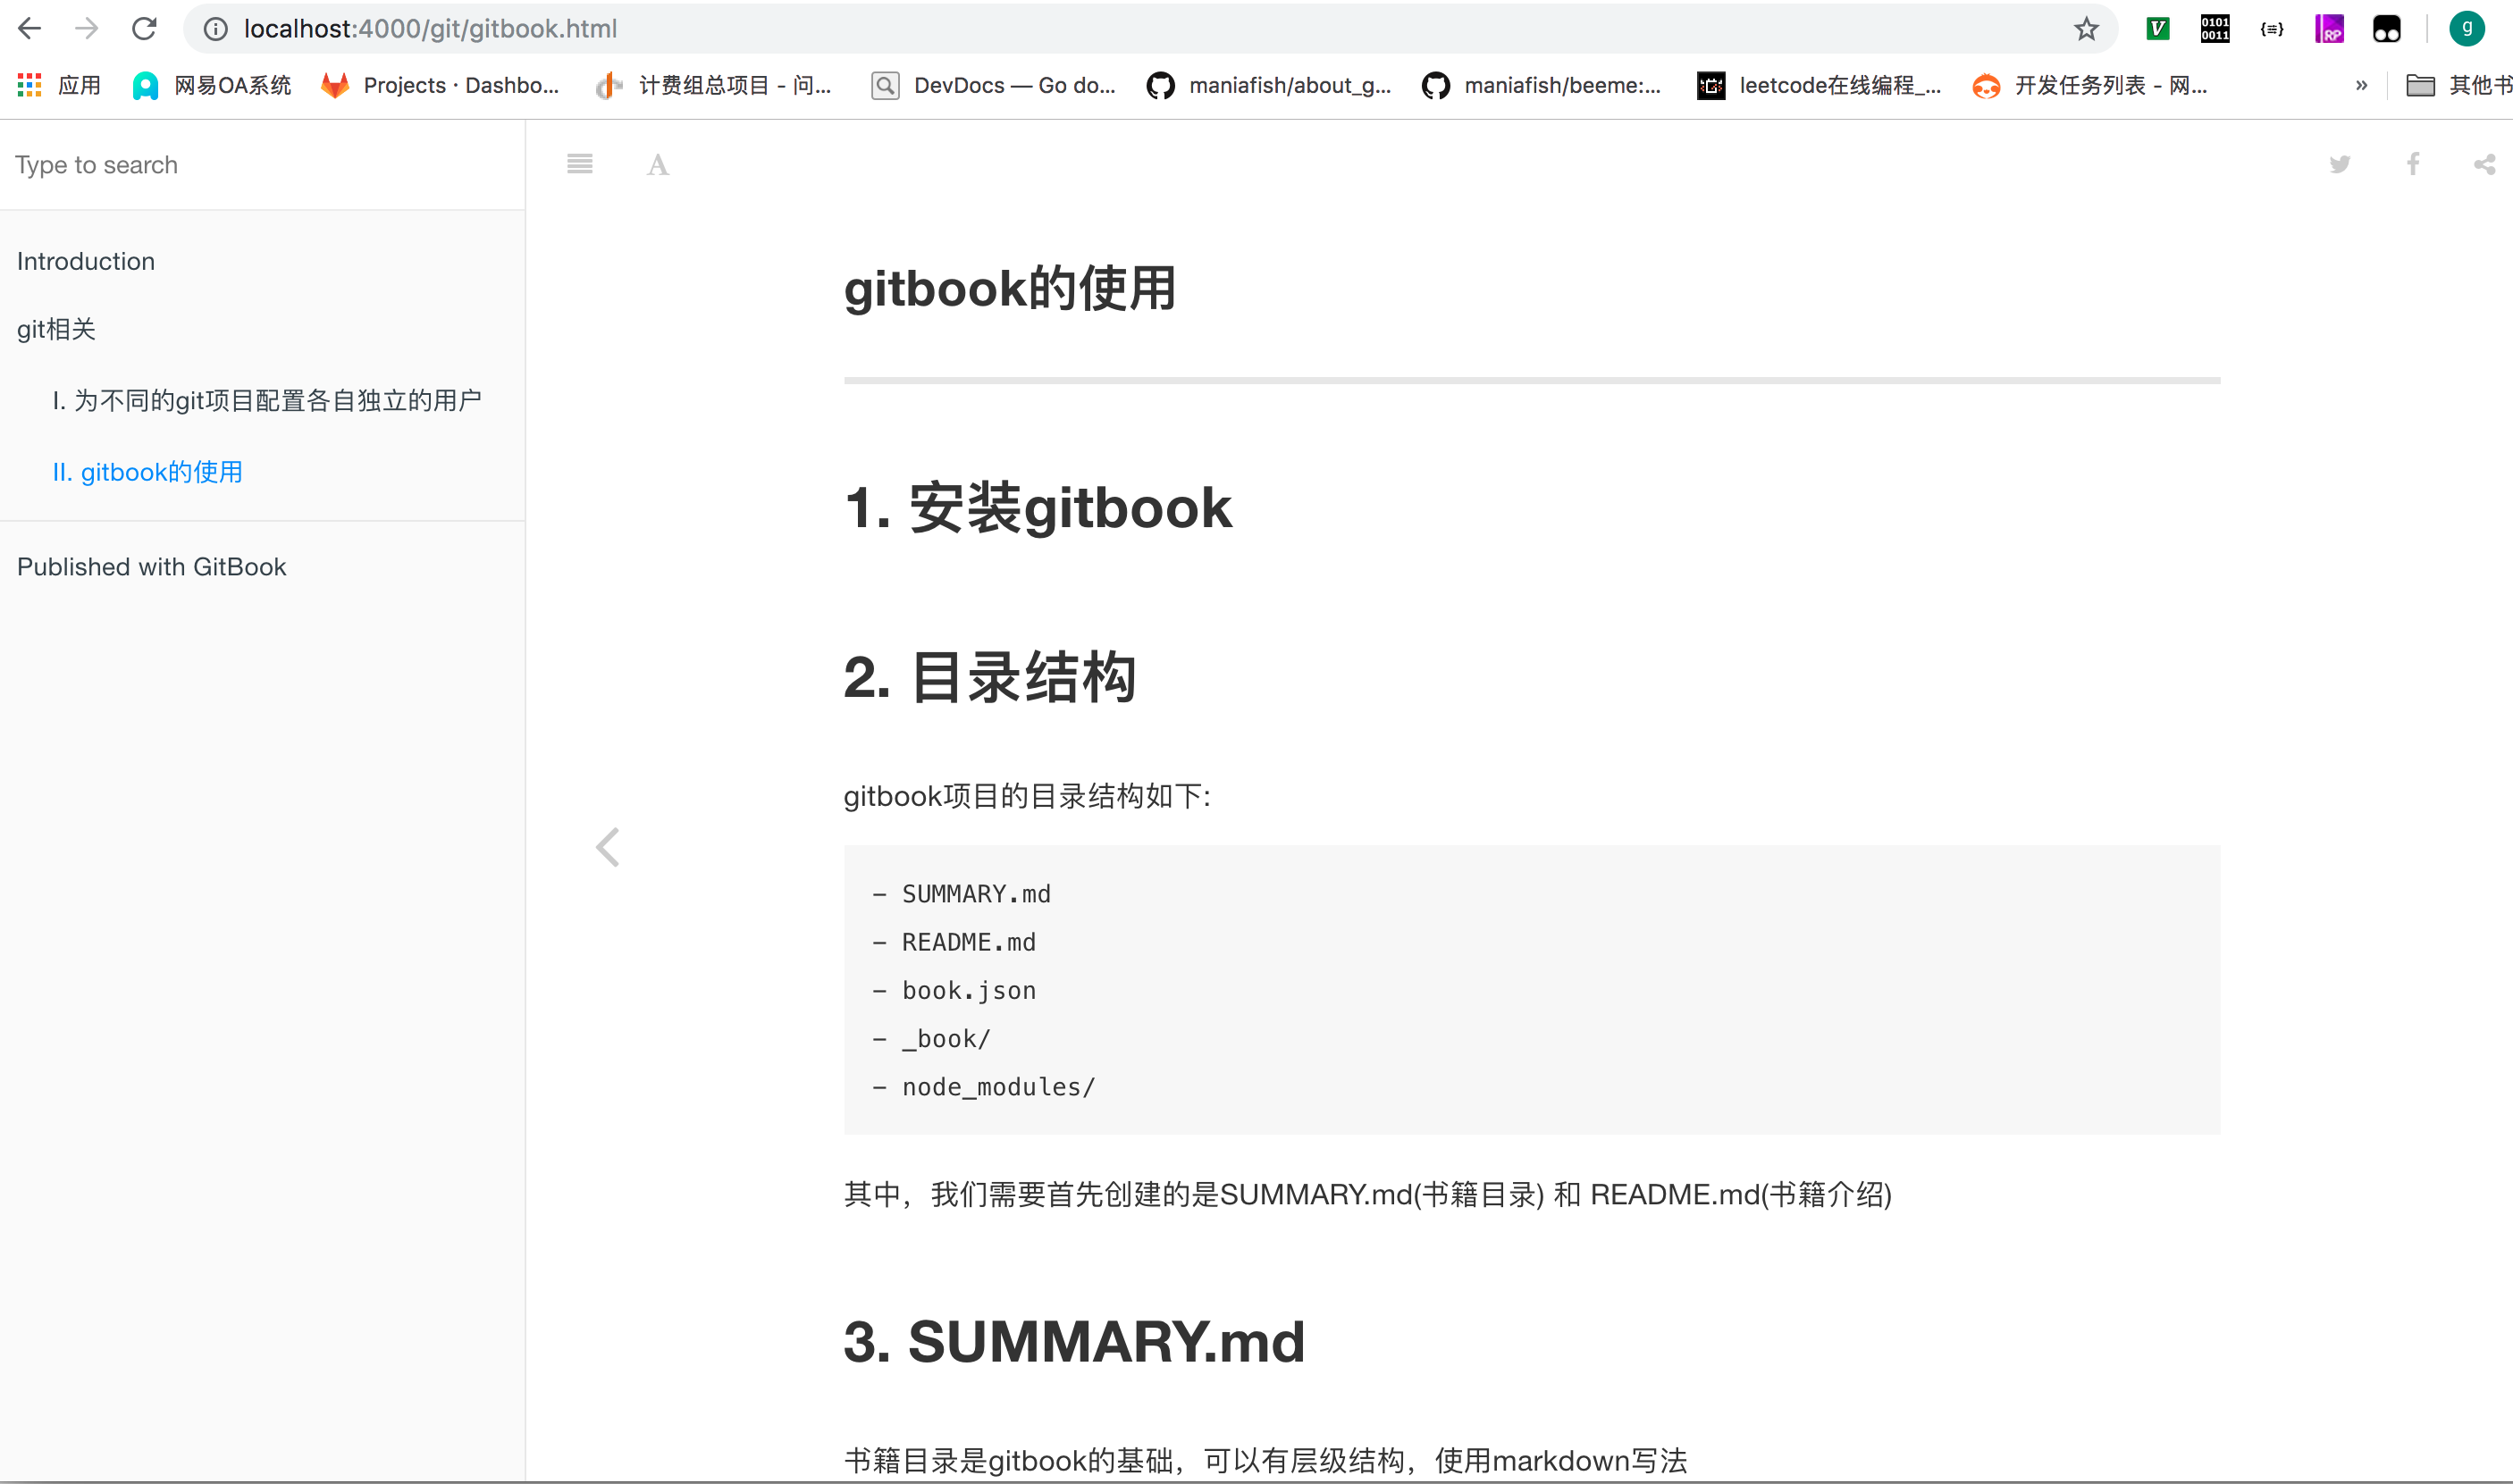
按照提示信息,访问本机4000端口,即可看到预览结果

执行完成后,会在项目下自动生成书籍的文件目录_book/
默认的"Introduction"页面就是README.md
5. 配置书籍
5.1. book.json
在项目目录下新建book.json文件,可以进行书籍配置;book.json示例如下:
{
    "author": "mania_fish<mania_fish@163.com>",
    "description": "How to build effective golang project",
    "extension": null,
    "generator": "site",
    "links": {
        "sharing": {
            "all": null,
            "facebook": null,
            "google": null,
            "twitter": null,
            "weibo": null
        },
        "sidebar": {
            "mania_fish's github": "https://github.com/maniafish"
        }
    },
    "output": null,
    "pdf": {
        "fontSize": 12,
        "footerTemplate": null,
        "headerTemplate": null,
        "margin": {
            "bottom": 36,
            "left": 62,
            "right": 62,
            "top": 36
        },
        "pageNumbers": false,
        "paperSize": "a4"
    },
    "plugins": [
        "-lunr",
        "-search",
        "search-pro",
        "anchor-navigation-ex",
        "splitter",
        "sectionx",
        "prism",
        "-highlight",
        "prism-themes"
    ],
    "title": "real effective go",
    "variables": {},
    "pluginsConfig": {
        "anchor-navigation-ex": {
            "isShowTocTitleIcon": true,
            "tocLevel2Icon": "fa fa-hand-o-right",
            "tocLevel3Icon": "fa fa-hand-o-right",
            "tocLevel4Icon": "fa fa-hand-o-right"
        },
        "prism": {
            "css": [
                "prism-themes/themes/prism-base16-ateliersulphurpool.light.css"
            ],
            "lang": {
                "flow": "typescript"
            },
            "ignore": [
                "mermaid",
                "eval-js"
            ]
        }
    }
}
- 官方配置字段说明
插件plugins
- "-lunr", "-search", "search-pro": 禁用掉gitbook默认的搜索插件,使用search-pro, 支持中文搜索
"anchor-navigation-ex": 页面章节锚点
由于前三级的标题会被自动锚点并编号,为了文章标题不被锚点,我们采用如下格式:
  #### <font color="blue">标题</font>

  ---

  # 文章第一节
  ## 文章第一节的第一小节
效果如下:

"-highlight", "prism", "prism-themes": 禁用原代码高亮功能,使用prism代码主题
- 更多插件,详见官网
5.2. 载入配置
- 在项目目录下执行
gitbook install即可安装配置插件;安装完成后,项目下会出现一个node_modules/目录 - 然后执行
gitbook serve即可看到配置完成后的主页
6. 集成发布到github pages
6.1. 添加git仓库
- 在项目目录下执行
git init新建git仓库 git remote add origin <远端github仓库地址>添加github仓库touch .gitignore并且在里面添加以下内容*~ *.swp *.DS_Store _book/ node_modules/git add .添加文件到git版本控制git commit -m 'git init'提交变动git push origin master推送分支
6.2. 发布github pages
git clone <远端仓库地址> <目的目录>- 在<目的目录>下执行
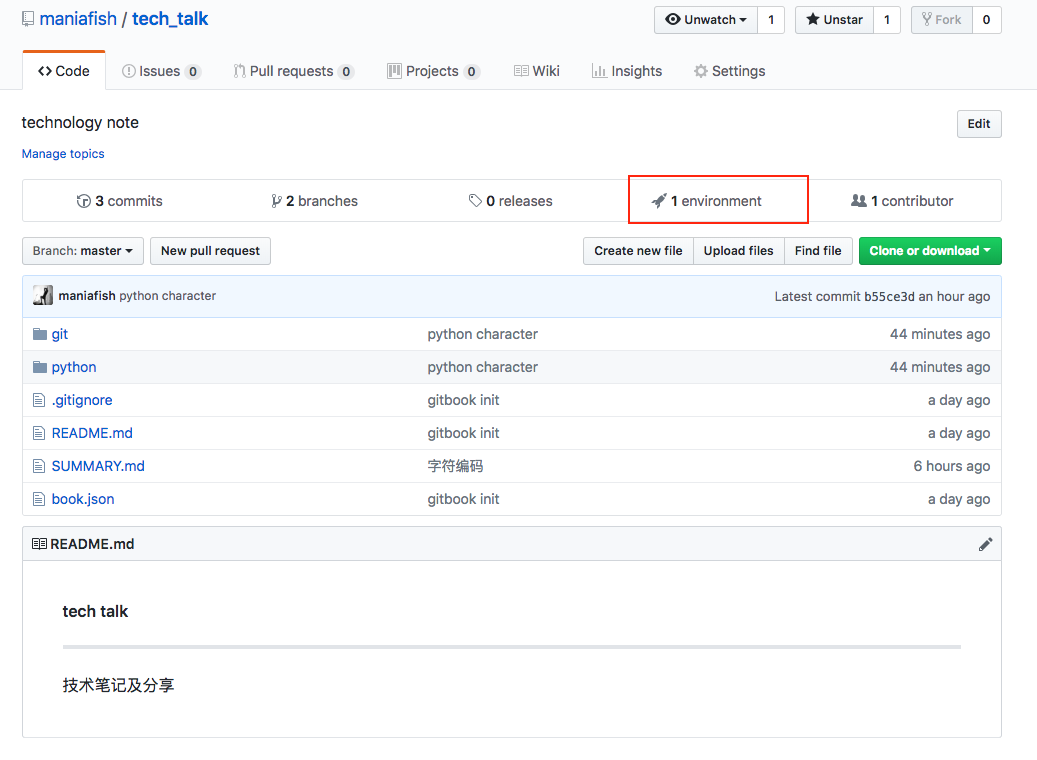
git checkout --orphan gh-pages创建孤儿分支gh-pages git rm --cached -r .删除暂存区目录git clean -df删除未track的目录,不影响.gitignore中的文件touch .gitignore并且在里面添加以下内容*~ *.swp *.DS_Storecp -rf <源目录>/_book/* ./将生成的书籍html内容copy出来git add .git commit -m 'publish book'git push origin gh-pages推送完成后,进入github仓库主页,会多出一个
environment图标
点击
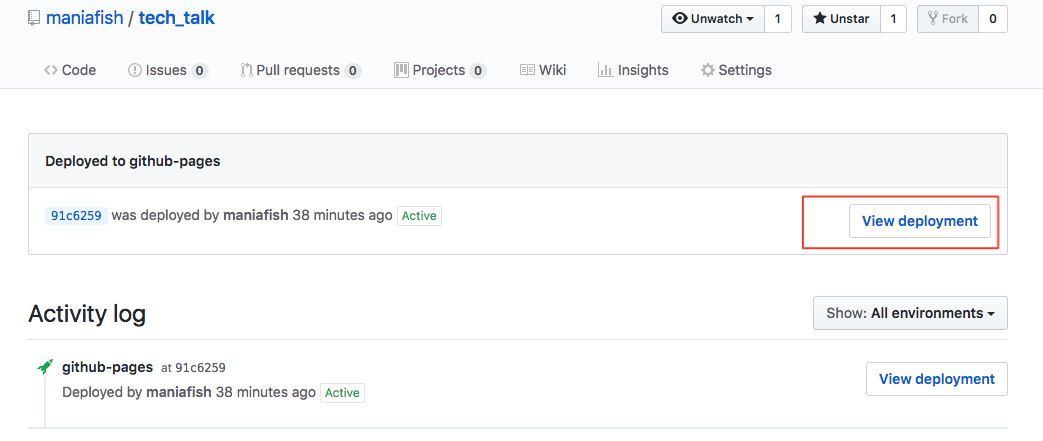
environment图标后,进入如下页面
点击
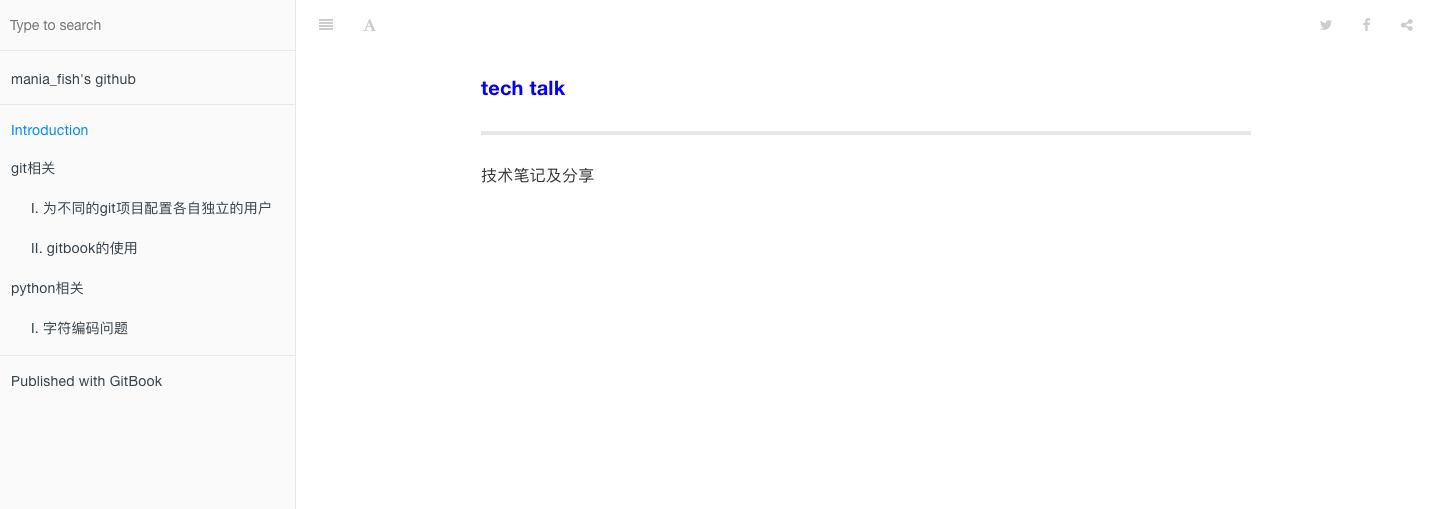
view deployment图标,即可看到发布的gitbook书籍
6.3. 后续更新github pages
- 只需执行上述6 - 9 步即可
参考链接: